Tuesday, September 27, 2016

Freebies! - New Sewer Tiles

Edit: Fixed


I was going through my wife's craft stuff and I came across a cheap little matte cutter she had. It was perfect for cutting down all of the chip board leftovers I have from some failed 8x10 tile experiments.


So to kick off my DIY tiles, I started with sewers...again. Well at least these are with my new map style and I think they look pretty sharp. I never bought Paizo's Game Mastery Tiles for the sewer adventures in Pathfinder Society. I'm not a fan over their tile sets (though their maps are fabulous). My problem is that they are 5x8 and my OCD hates odd numbers as well as tiles that can't be turned sideways to be reused in a grid. They are also a bit on the thin side which makes keeping them butted up against each other a pain.

So I have adopted 6x6 as my official tile set size, and I have more tiles planned as time goes on (such as sci-fi!). As for rooms, they can break the 6x6 rule depending on what they are.

I've had a super hard time trying to build re-useable tiles due to Pathfinder Society. It would be impossible to recreate any of their maps with a generic tileset. But my mental issues wouldn't let me get away from trying and failing to make them for PFS. I have to distance myself as much as possible for the idea and move on with my crafting. That said, my sewer tiles are compatible with PFS and can loosely replace their designs. Mine aren't exact to what they have, but it keeps the general gist of things.

Anyway, you can find my sewer tiles in the free downloads section, or right here in the ticketyboo!

PS> I had an experiment idea about gluing plastic sheets from cut up sheet protectors onto my tiles to make them wet/dry erase. I tried white glue spread thin, regular blopped white glue, and a clear colored glue stick. Neither white glue held the plastic on, and even warped the cardstock that was already mounted to the chipboard. The gluestick did the best job, but it did have problems holding onto the sheet in places and it slightly discolored the printed art.

I've tried contac paper but I can't get the permanent stuff, and wet erase markers want to bead up on it and don't make a crisp line. Ah well, back to the laboratory!

Thursday, September 22, 2016

More On Painting

I have been practicing my technique before my expected Chronoscope figures start arriving. I revisited a model I had painted earlier - the Rock Golem - because I felt it was too dark and and didn't have much variation in tone. I added some highlights to it to make it pop more.


Also working on a few models I have had in the queue, like this Skeletal Champion...


And finally, I swapped the last of my paint pots into the 15 ml dropper bottles (I bought a pack of 50 from Amazon; 15 ml, 30 ml). In the process I discovered something interesting: the bulk of my paints are Privateer Press and a full pot of theirs doesn't fit into a 15 ml bottle. I should have gotten more of the 30 ml (I mistakenly only ordered a 12 pack). But my one bottle of Citadel paint fit just fine. It never occurred to me that I was getting significantly less paint from Citadel.


Since those are the only two brands my FLGS carries, I think I will just keep going with the privateer paints.


Wednesday, September 14, 2016

The Case For Horizontal Character Sheets

I like my Character sheets horizontal rather than vertical. To me it is easier to break up thematically similar sections and group them on a horizontal sheet. But there is another reason and the Penny Arcade/D&D "Acquisitions Incorporated" Series has highlighted it with this screenshot.


A horizontal character sheet takes less of the center real estate on a game table. Granted that this is an expensive Carolina Game Table model (from Clint and Jodi Black!), but how often do your players have to move their character sheets while you lay down a new map? How often do you have a wide enough table at your gaming location of choice?

Of course, if you are playing in the "Theater of the Mind" this is not likely a problem for you, unless you have large handouts.

Tuesday, September 13, 2016

New Map - Canyon Maze

I have a new map for sale on Drivethrurpg.com: The Canyon Maze.


It's a 24x30 inch standard size map you put together from 9 8x10 tiles. It comes in grid and non-grid.

I'm not a big fan of site advertising so this blog doesn't generate any income for me except in advertising my own work. Every little bit helps and I will keep up with new freebies sooner or later.

Thanks for visiting my site,

Chad B Jones

Thursday, September 8, 2016

Regarding Maps Without Doors

I have been struggling with artistic overload recently so my next couple of posts will be specifically about maps and tiles respectively.

So.... maps, (the pre-designed ones by Paizo and WotC).

Dungeon maps have a reuse-ability problem... sort of. If it's a map that you have used before, the players will know where the doors are, the layout, and if it is printed on the map then they will know the secret passages. There is also the problem that (even if it is a new map) you have to cover up undiscovered areas with paper or your players will see all of the routes and doorways.

Well I have an idea about that.

What if you had maps that showed blank rooms but NO DOORS. Like this...


Will the players know which path to take? Not without doorways linking rooms. Now how about you place door standees as the players discover them? And you place (or draw) room decor as the enter? Instant Fog of War without having to deal with a mess of tiles or cover sheets. And because you can place doors in different locations each time you play, you effectively change the map, keeping your players guessing. And you don't have to use all of the rooms either.

I would say that 3 different maps would give you hundreds of dungeon crawl combinations.

You don't have to wait for me to make maps for you. If you are hand drawing maps based on your favorite rpg's designs, try leaving out the doors until the players find them.


Wednesday, September 7, 2016

Dungeon Design via Extra Credits

Extra Credits is an animated show about video games, history, and a few other topics. Right now they are covering a dungeon design from the video game Baldur's Gate. I'm going to link to it because it contains some lessons that may be helpful to GM's designing their own versions of the dungeon crawl.


Tuesday, September 6, 2016

Painting Minis - Paint Hack

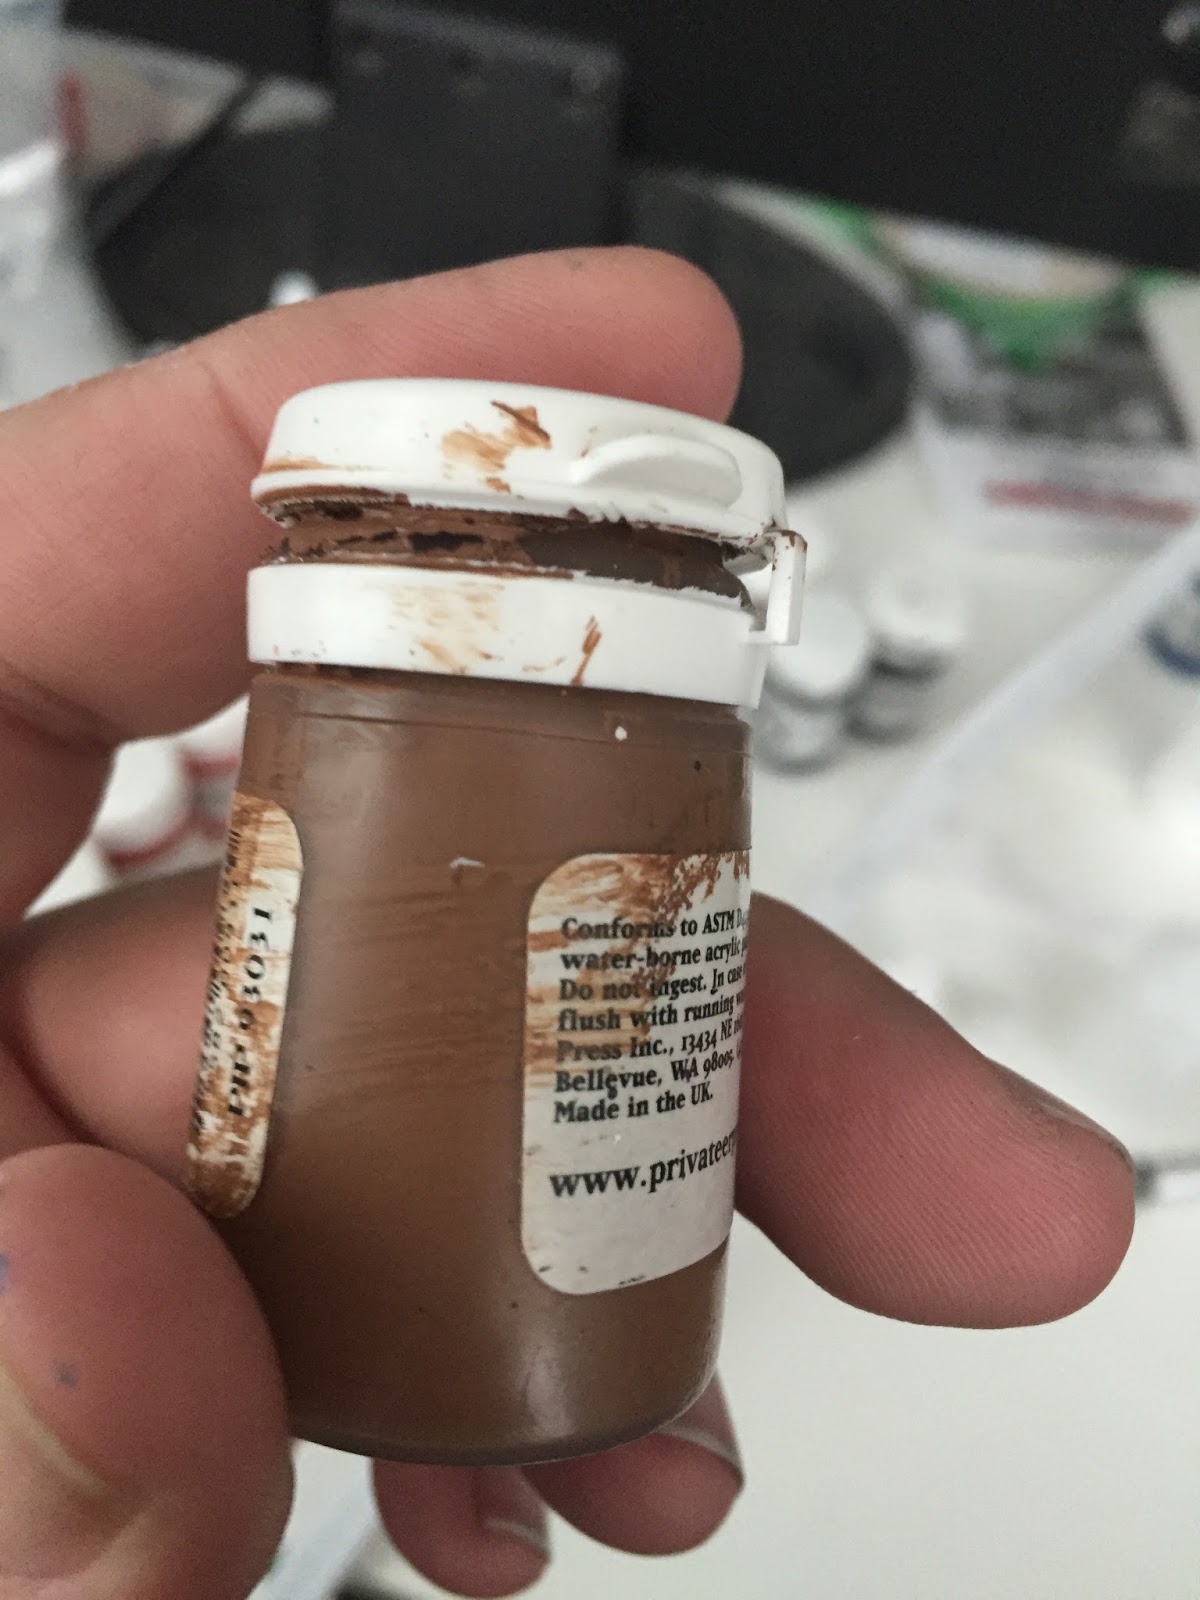
Paint containers, for the most part, suck. They get gummed up around the rim, fail to seal properly, and dry out. They also make it hard to get a small measure of paint out to mix.


There's a paint company that has the right idea by putting the paints in dropper bottles. However my FLGS doesn't carry them. It only carries Warhammer and P3 paints. But where there is a will...


I purchased these off of Amazon: a twelve pack of 1 oz dropper bottles. Most of the bottles come in 50 packs, but I didn't think I needed more than twelve. I was wrong on two fronts. I have more than 12 colors of paint and 1 oz is too large a bottle. Paints apparently come in .5 oz or 15ml bottles. I went back on Amazon and order a 50 pack of 15ml bottles. I am sure I will need them as time goes on.

Another thing I noticed was that the bottle openings were very tiny (before adding the dropper). I would need some kind of funnel to get my paint in there. Enter the drug-store medicine syringe (without needle).


I pulled out the plunger and filled the paint into the back of the syringe carefully. Then used the plunger to force the remaining paint through. You'll want to wash the syringe immediately after this to avoid the paint drying inside.

And... Oovah! Easily cleaned and easy to measure paint bottles!


There is some paint wasted in the transfer, but I figure the paint it will save me in mixing and not crusting the cap will make up the difference.


PS> Sorry for not keeping on the posts. My family is becoming the guardian of my 18 year old step-niece who has severe autism. She takes up a lot of our free time. Drama, drama, drama!